


Deno is a simple, modern and secure runtime for JavaScript and TypeScript that uses V8 and is built in Rust. Version 1.0 was released last month and it has received a lot of attention of late, with a variety of information and tutorials on how to get started with Deno, plus sample apps.
Among the recent examples, we saw this Deno chat app from The Codeholic, and we were excited by the idea of adding WYSIWYG HTML editing to it, and also using it as an example to demonstrate how easy it is to enhance any of your apps with rich text editing capabilities.
In this article, we’ll cover the main changes made to the project to add the TinyMCE editor - in just two steps! For more information about creating the original app, you can watch this video.
Run the Deno chat app
First though, if you’re keen to get it running to check it out for yourself, I’ve forked the repo here: https://github.com/benlongdev/deno-websocket-chat.
- Clone the repository, for example, by running
git clonehttps://github.com/benlongdev/deno-websocket-chat.git - From within the project’s root directory, run
deno run --allow-net server.ts - Open
public/index.htmlin your browser - Enter your name, select a group to join, and click Login
- To demo two or more participants, open
public/index.htmlin another window and join the same group
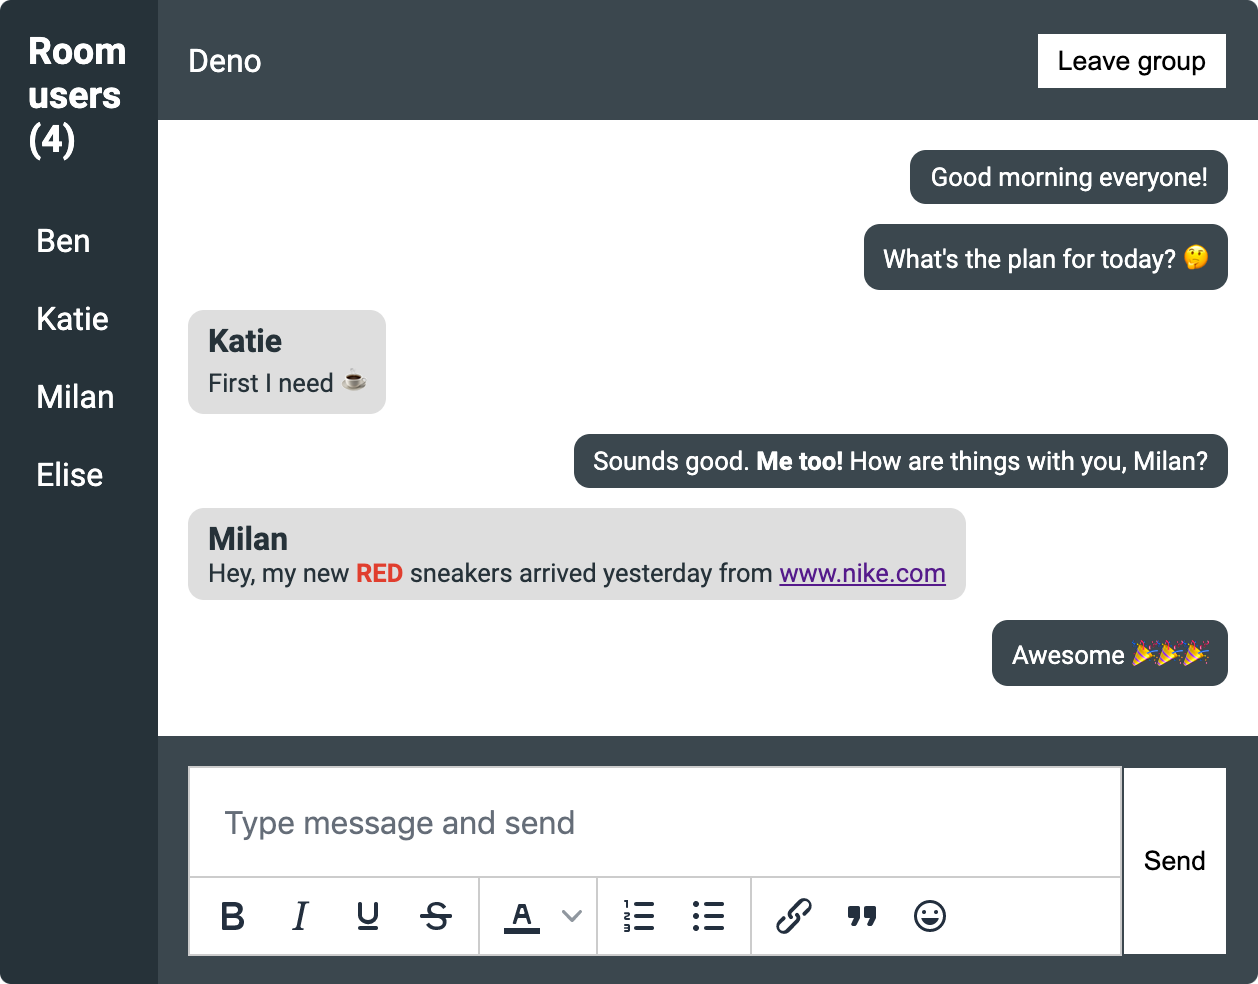
Adding TinyMCE to the Deno chat app
These are the main steps we took to add TinyMCE to the Deno chat app. But check out the code on GitHub for the full context.
1. Include the TinyMCE script
First, we included the TinyMCE script in the head of public/index.html, replacing no-api-key with a valid Tiny Cloud API key:
<script src="https://cdn.tiny.cloud/1/no-api-key/tinymce/6/tinymce.min.js" referrerpolicy="origin"></script>You can get a free Tiny API key here.
We also took note of the existing input field id - messageInput:
<input id="messageInput" type="text" placeholder="Type message and hit enter">2. Configure the TinyMCE editor
Then we included the TinyMCE initialization script in public/client.js, specifying the id of the form input as the element to initialize on - selector: '#messageInput'.
tinymce.init({
  selector: "#messageInput",
  plugins: "autoresize link lists emoticons",
  toolbar:
    "bold italic underline strikethrough | forecolor | numlist bullist | link blockquote emoticons",
  menubar: false,
  statusbar: false,
  width: "100%",
  toolbar_location: "bottom",
  autoresize_bottom_margin: 0,
  contextmenu: false,
  setup: (ed) => {
    editor = ed;
  },
});
TinyMCE is extremely flexible and can be configured for almost any use case and the user experience you’re aiming to achieve. The key configuration options in this example are:
plugins- to import any required pluginstoolbar- to specify the options provided to users (and their ordering on the toolbar)toolbar_location- to position the toolbar on the bottom of the editable areasetup- to set a global variableeditorfor accessing it on form submission
We also made some minor changes to sendMessageForm.onsubmit to get content from the TinyMCE editor on sending - editor.getContent() - and to clear the editor once sent - editor.resetContent().
What next?
Next, we could look at implementing a change that allows users to send on enter. And maybe even add the Text Pattern plugin to enable automatic text replacement with your own customized text patterns.
Also, once you have TinyMCE in your applications, you can think about other options that might be useful for your users; see my articles on customizing the TinyMCE toolbar and trying out the Tiny skins and icons. Tiny has a huge range of free and premium plugins, including the very popular PowerPaste.


